
How to Melt Chocolate in the Microwave
Introduction: The Sweet Science of Melting Chocolate
Chocolate melting is an art as much as it is a science. If you've ever faced the challenge of melting chocolate, you're not alone. Many people shy away from it because they've heard it can easily seize or burn. Fortunately, the microwave method offers a straightforward way to achieve perfectly melted chocolate in no time. This guide will walk you through the steps to melt chocolate in the microwave efficiently. Whether you're preparing to dip strawberries, drizzle over a dessert, or just indulge in some rich chocolatey goodness, these tips will help ensure success. Let’s dive into the delightful world of chocolate melting!
Preparation: Setting the Stage for Success
Before you even think about turning on the microwave, preparation is key. First, decide what type of chocolate you want to melt. Dark chocolate, milk chocolate, and white chocolate all melt slightly differently due to their varying cocoa butter content. Ensure you have a microwave-safe bowl, and break your chocolate into small, even pieces. This uniformity helps ensure that it melts evenly and reduces the risk of overheating. Lastly, it's a great idea to have a spatula or spoon handy for stirring. With these tools ready, you're all set to embark on your melting journey!
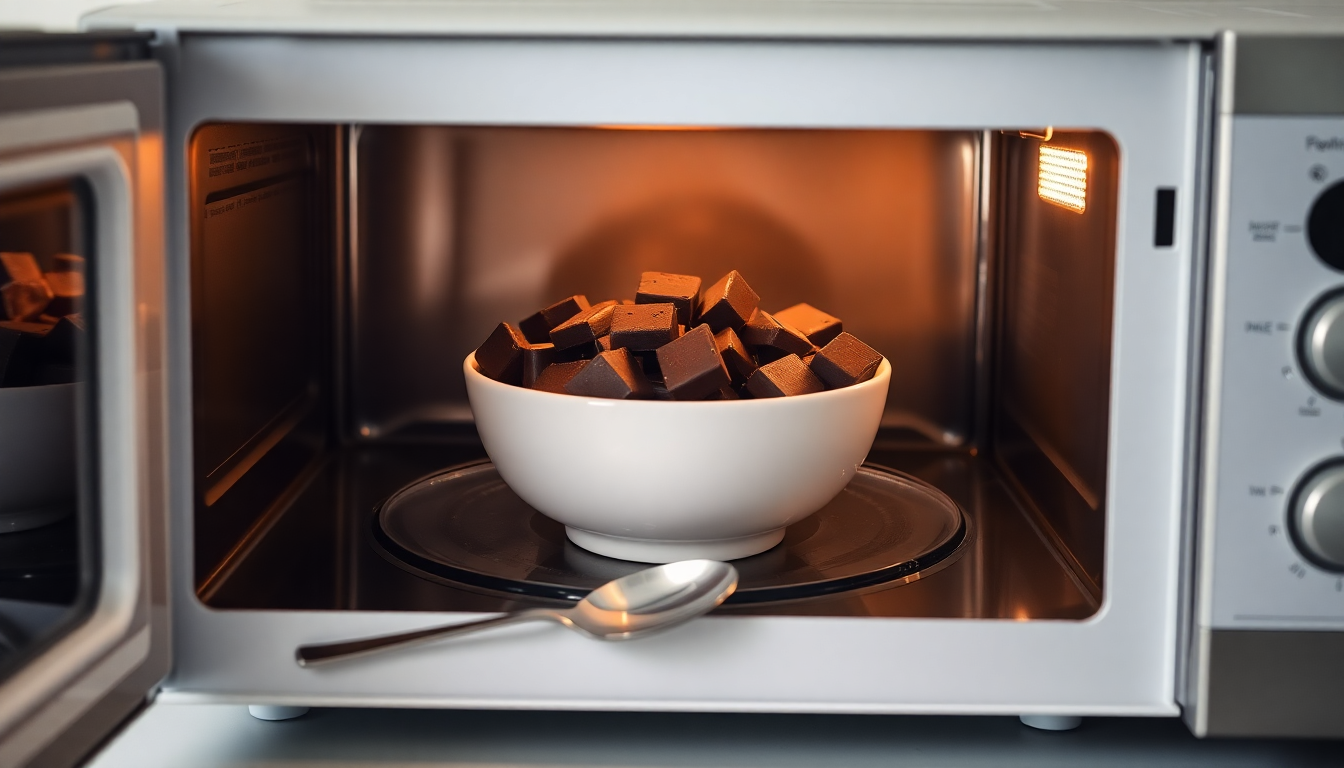
The Melting Process: Step-by-Step Guide
Start with a low power setting to prevent scorching. Set your microwave to 50 percent power level. Most melted chocolate disasters happen due to excessive heat, so remember that patience is your ally here. Place the bowl of chocolate pieces in the microwave and heat it for 30 seconds. Remove it, give it a good stir, and pop it back in. Continue this 30-second heating and stirring process until about 80 to 90 percent of your chocolate is melted. At this point, you’ll want to remove it and let the remaining heat take care of the unmelted chunks. Stirring is crucial; it helps distribute the heat evenly and encourages the chocolate to melt more uniformly.
Overcoming Challenges: Avoiding Common Pitfalls
Chocolate can be delicate and temperamental. If you see your chocolate starting to thicken unexpectedly or become grainy, it has seized, which often occurs when moisture gets into it. Protect your chocolate by ensuring your bowls and tools are completely dry—any form of moisture can cause seizing. If it does seize, you can attempt to salvage it by adding a teaspoon of warm water or a couple of drops of vegetable oil; it may help smooth things out. Additionally, remember that different microwaves have different power levels, so some adjustments in timing and power settings may be necessary based on your particular appliance.
Utilize and Enjoy: Applications of Melted Chocolate
Now that you’ve successfully melted your chocolate to a smooth, velvety finish, the world is your oyster, or rather, your chocolate fondue! Melted chocolate can be used in countless ways. Pour it into molds for homemade chocolates, swirl it into batter for marbled brownies, or dip your favorite fruits and snacks for a classic chocolate fondue. It’s also fantastic for making chocolate-covered treats like pretzels or nuts. With your newfound chocolate-melting prowess, the culinary possibilities are nearly endless, adding a decadent touch to any dish.


Leave a comment
This site is protected by hCaptcha and the hCaptcha Privacy Policy and Terms of Service apply.